What does it mean when the computer says that riched20.dll cannot be found? How can it be fixed? Many users encounter this kind of DLL missing problem when running software or games on their computers. They often assume it’s a software issue, thus repeatedly uninstalling and reinstalling the application. However, this isn’t the case; the main reason for DLL problems is often the loss of riched20.dll or the computer not having certain system runtime libraries installed.
What is riched20.dll?
riched20.dll, known as Rich Text Edit Control, v2.0, is part of Microsoft Corporation’s Microsoft RichEdit Control 2.0 program. It is part of the Microsoft software ecosystem, designed specifically for Microsoft Office applications. It represents “Rich Edit,” responsible for providing rich text editing capabilities.
Rich text is any text that includes formatting information, such as font styles (bold, italic), font sizes, text colors, alignment, and bullet points, among others. Unlike plain text, which contains only characters without any additional information on how to display them, rich text enables you to make the text visually appealing and more informative.
riched20.dll allows applications to render rich text, accept formatted text input, and even perform more complex operations, such as embedding objects or tables within the text. When you use Microsoft Office applications like Word or Outlook and format text as bold or italic, or change its color or size, you are essentially utilizing the functions provided by riched20.dll. Thanks to riched20.dll, developers can add rich text editing functionality to their applications with this library, encapsulating many complex features related to text rendering and manipulation without needing to code them from scratch.
Riched20.dll is a critical component that runs in the background when you edit or view documents, emails, or any other content that requires rich text formatting. Therefore, some applications or games may need this file to function properly. If riched20.dll is missing, you may encounter various errors or crashes whenever you start Microsoft Office or any other applications/games that rely on this library. To fix these errors, please read the suggested solutions below.
So, how to resolve the missing riched20.dll issue?
Riched20.dll related error messages
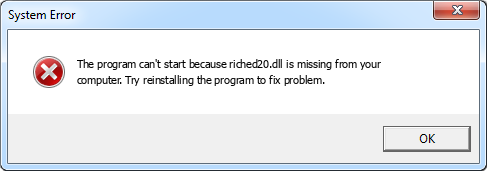
Possible error messages regarding this file:
- riched20.dll is missing
- riched20.dll error loading
- riched20.dll crash
- riched20.dll was not found
- the procedure entry point riched20.dll
- riched20.dll could not be located
- riched20.dll Access Violation
- Cannot find riched20.dll
- Cannot register riched20.dll
How to fix the Riched20.dll missing error?
To fix the Riched20.dll missing error, you can follow these steps:
Method 1. Restart Your Computer
A simple restart can often resolve temporary issues related to DLL files.
Method 2. Utilizing a Specialized DLL Repair Tool
If you’re hesitant to manually modify system files, consider using software such as Bitwar DLL Fixer to automatically address problems linked to DirectX components and installation configurations. This tool boasts a comprehensive library of DirectX and DLL files, enabling one-click installations and the capability to resolve a range of DLL issues, including errors indicating that riched20.dll cannot be found.
Advantages of Bitwar DLL Fixer:
- Repair or replace corrupted or missing DLL files with a single click.
- Restore missing DirectX files and runtime libraries.
- Provide a high success rate and free technical support.
- Quickly scan your computer, identify DLL errors, and resolve program malfunctions.
- Rapidly fix issues related to launching Windows programs and games.
Please follow the steps below to restore riched20.dll using Bitwar DLL Fixer:
Bitwar DLL Fixer Official: https://www.bitwarsoft.com/dll-fixer
Free Download Bitwar DLL Fixer:

Repairing riched20.dll with Bitwar DLL Fixer
Full Repair/System DLL Repair:
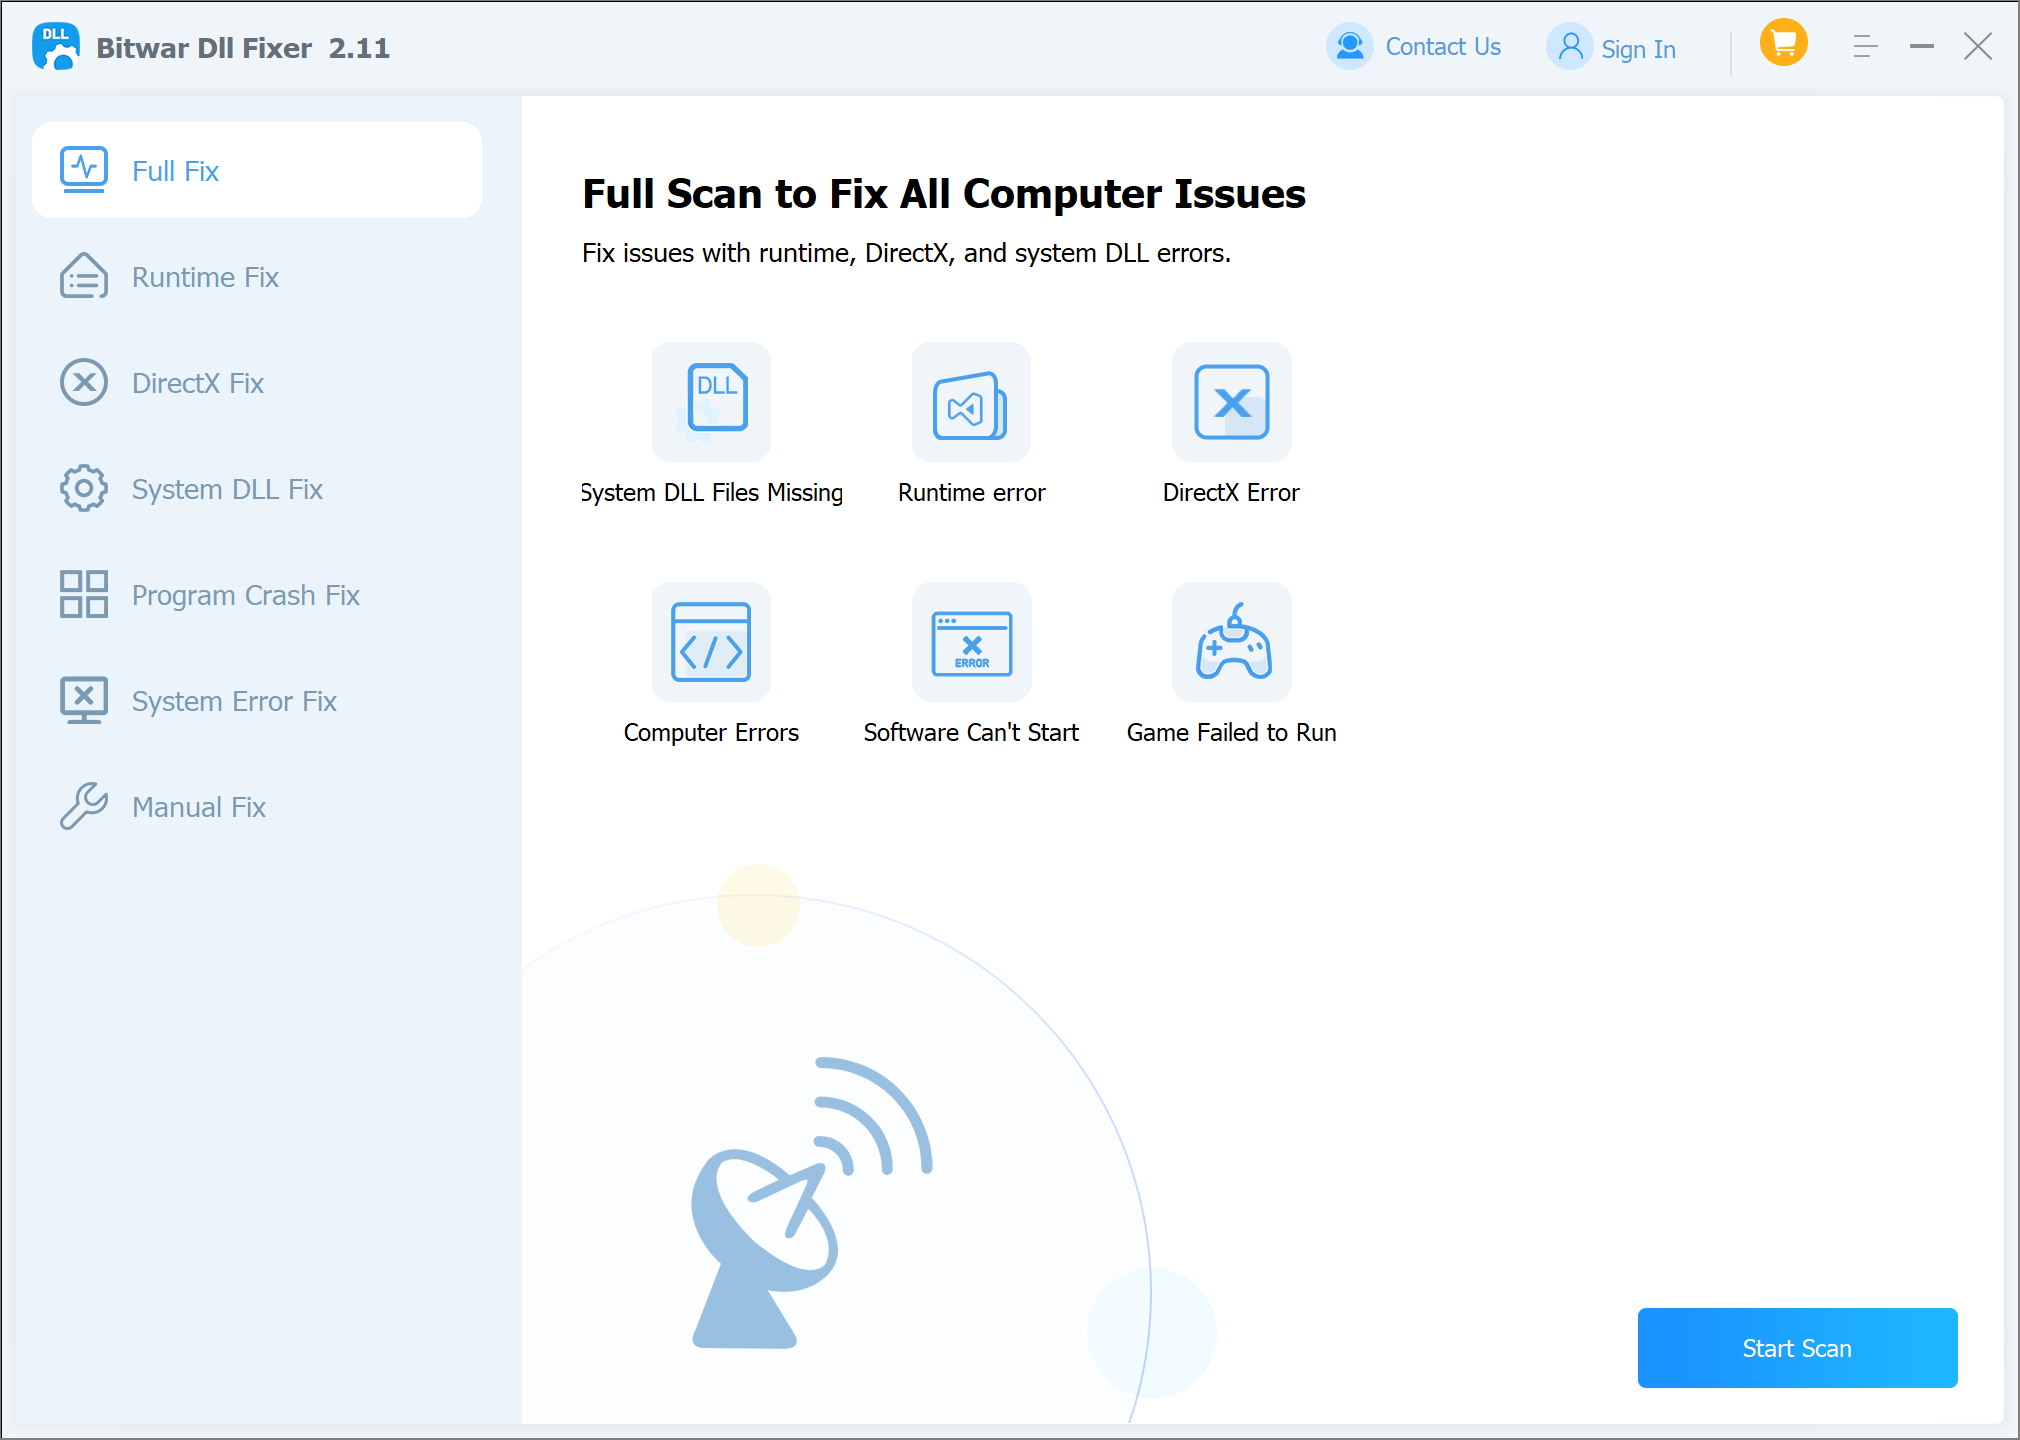
- Download and launch Bitwar DLL Fixer. From the left-hand menu, select “Full Repair”.

- Click on “Start Scan” and wait for the scan to complete. After reviewing the listed DLL files, click the “Fix” button to fix the problematic DLL files.
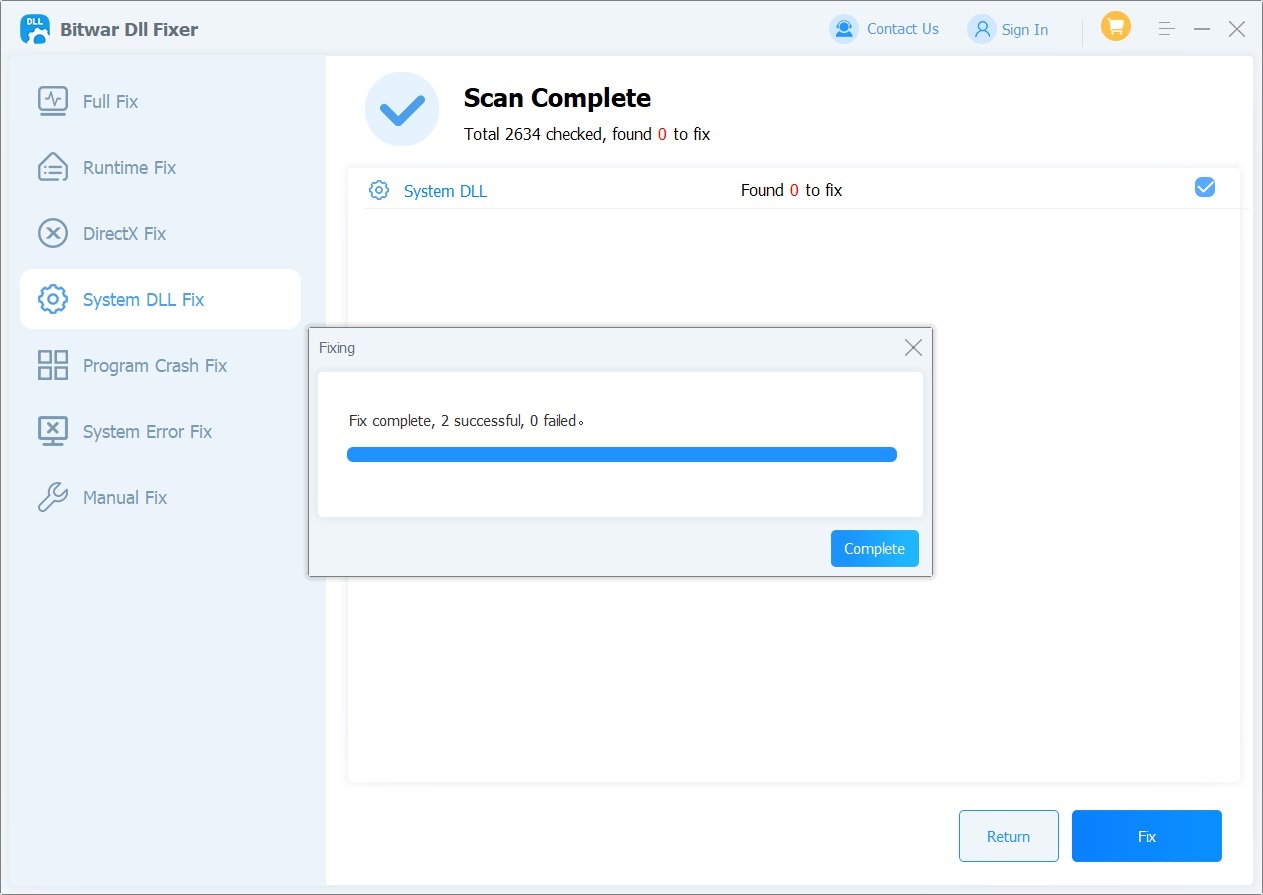
Once the repair process is finished, a notification will be displayed on your screen. After that, please open the related program to check whether the riched20.dll problem has been fixed.
Note: If the riched20.dll file you need to repair cannot be located during the “Full Repair,” you might consider attempting a manual repair.
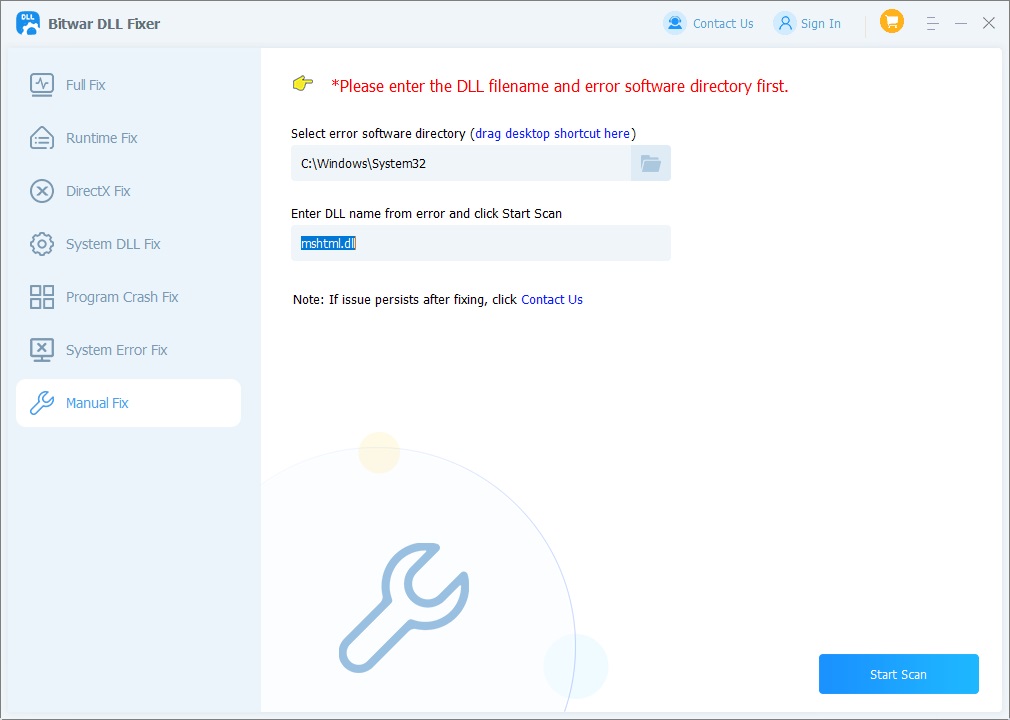
Manual Repair:
- Click on “Manual Repair” and enter the name of the DLL and the save path for the DLL. Then, click on “Start Scan.”
- Select the appropriate version for your computer and click “Repair.”
- After the repair is complete, please restart your computer.
Method 3. Reinstall the Specific Application
If the error occurs while using a particular program, try uninstalling and reinstalling that program. This process can replace any missing or corrupted files, including Riched20.dll.
Method 4. Install Microsoft Office
If you’re using Microsoft Office and encounter this error, reinstalling or repairing Microsoft Office can restore the missing Riched20.dll file. To reinstall or repair Microsoft Office, follow these steps based on your operating system:
Repairing Microsoft Office:
-
- Press Windows + R, type control, and hit Enter.
- Alternatively, right-click on the Start button and select “Control Panel.”
- Click on “Programs” or “Programs and Features.”
- Scroll through the list of installed applications and locate Microsoft Office.
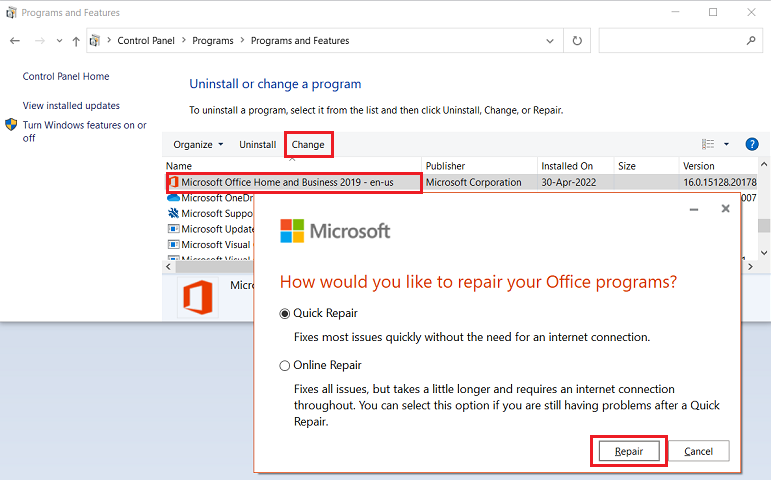
- Click on Microsoft Office, then choose the “Change” button at the top of the list.
- A new window will appear with two options: “Quick Repair” and “Online Repair.” Select your preferred repair option and follow the on-screen instructions.
- Quick Repair: This option will fix most issues quickly without needing an internet connection.
- Online Repair: This is more comprehensive and can resolve more complex problems, but it requires an internet connection.
- After the repair process is complete, restart your computer to ensure the changes take effect.
Reinstalling Microsoft Office:
- Press Windows + R, type control, and hit Enter.
- Click on “Programs” or “Programs and Features.”
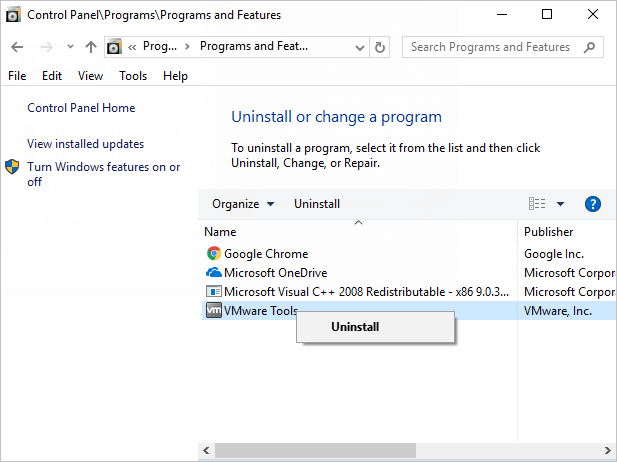
- Scroll through the list of installed applications and locate Microsoft Office.
- Click on Microsoft Office and select the “Uninstall” option.
- Confirm the uninstallation by following the prompts.
- Visit the Microsoft Office website and sign in with your Microsoft account.
- Navigate to “My Account” and select “Install Office” to download the installer.
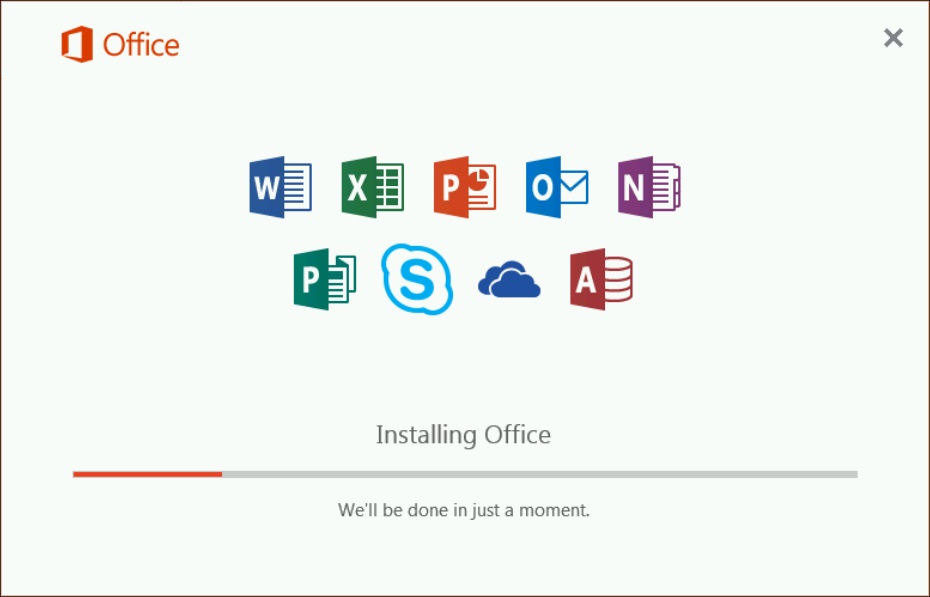
- Locate the downloaded file (usually in your Downloads folder) and double-click on it to run the installer.
- Follow the on-screen instructions to complete the installation.
- After installation, open any Office application (such as Word or Excel) and enter your product key or sign in to activate your Office suite.
Method 5. Run a System File Checker (SFC) Scan
- Open Command Prompt as an administrator by searching for “cmd,” right-clicking on it, and selecting “Run as administrator.”
- Type
sfc /scannowand press Enter. This command will scan for and attempt to repair corrupted system files.
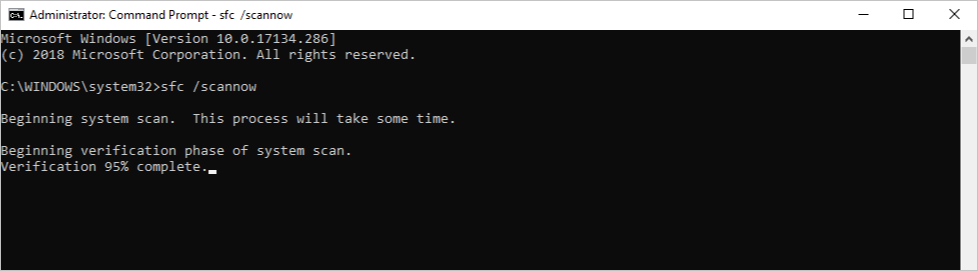
The system file checker may take some time to complete the scanning and repair process. Please be patient and wait until the process is finished before restarting your computer. Do not interrupt or close the Command Prompt window.
Method 6. Check for Windows Updates
Ensure that your operating system, drivers, and other software are up to date. If the errors began occurring after an update, you can uninstall that specific update patch.
To check for Windows updates, follow these steps:
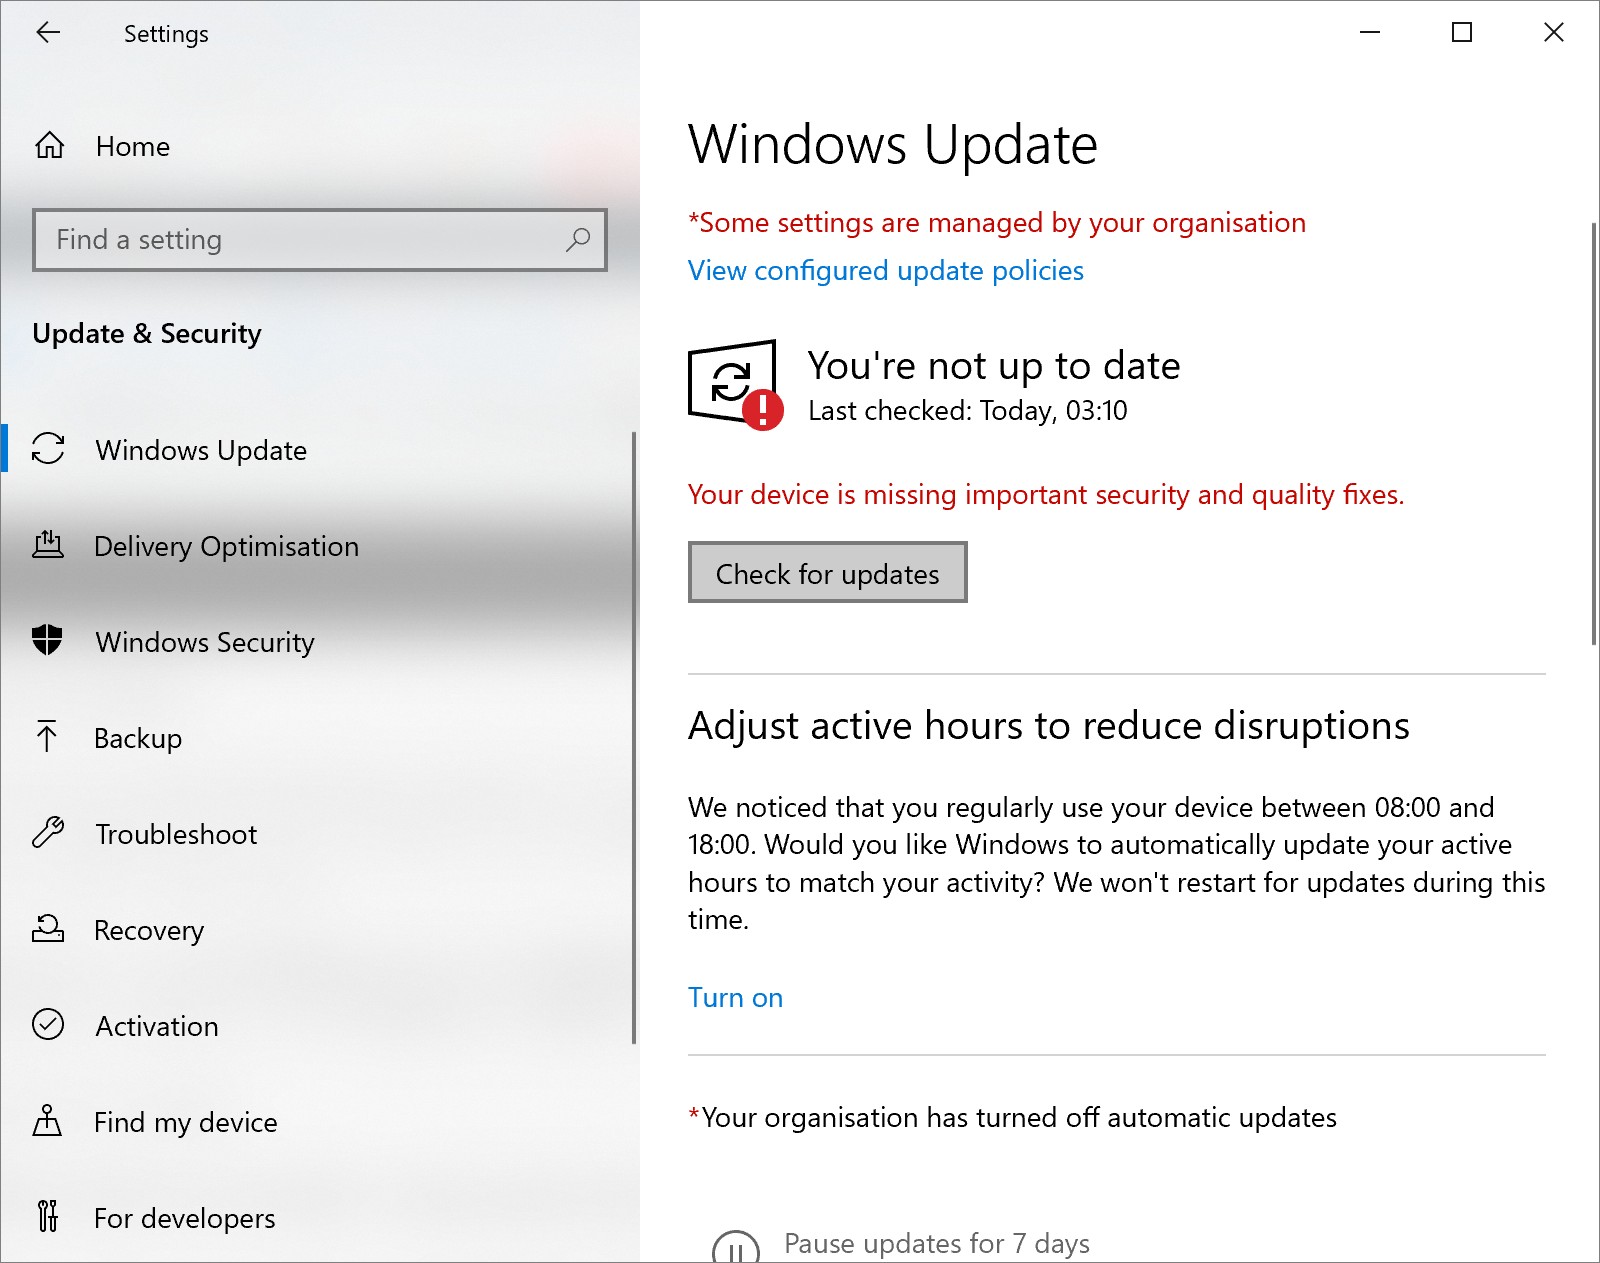
- Press the Windows key + I to open the Settings menu. Click the “Windows Update” tab on the left side of the screen. For Windows 10 users, the Windows Update menu can be found at Settings > Update & Security > Windows Update.
- Click the “Check for updates” button. This will start a scan for updates. If any updates are available, they will be downloaded and installed automatically.
- If you’d like to check for updates for other software, you can do so by opening the program and looking for a “Check for updates” option in the menu. You can also visit the software’s website to look for updates.
Tips:
- Regularly check for updates to keep your system secure and updated.
- Backup important data before major updates or upgrades to prevent data loss.
Method 7. Download and Register Riched20.dll
Download Riched20.dll from a Trusted Source: If the file is missing, you can download it from a reputable website. Ensure you download the version that matches your system architecture (32-bit or 64-bit).
- Search for “Riched20.dll” in your browser and download the file that matches your system version (32-bit or 64-bit).
- Copy the downloaded file to the C:\Windows\System32\ directory (for 32-bit systems) or the C:\Windows\SysWOW64\ directory (for 64-bit systems).
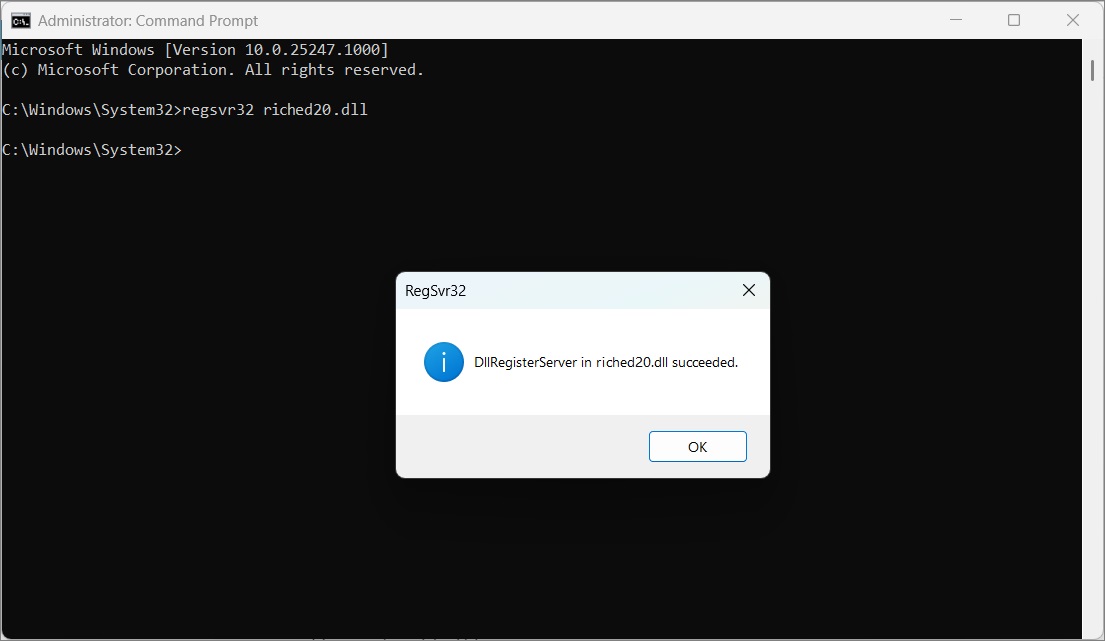
- Press the Windows key + R, type cmd, and then press Ctrl + Shift + Enter to open Command Prompt with administrator privileges.
- In the Command Prompt, type
regsvr32 Riched20.dlland press Enter to register the DLL file. - Once completed, restart your computer.
Note: When downloading DLL files, make sure to use a trusted source to avoid potential security risks. Manually replacing system files can pose stability risks, so be sure to back up important data before proceeding.
Method 8. Perform a System Restore
If the issue started after recent changes, consider restoring your system to a previous point where it was functioning without errors.
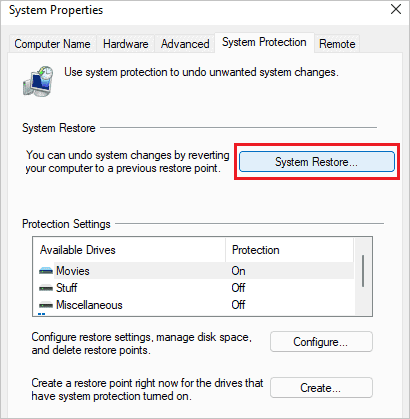
- Click on the Start menu and type Create a restore point in the search bar. Press Enter.
- In the System Properties window, under the System Protection tab, click on the System Restore button.
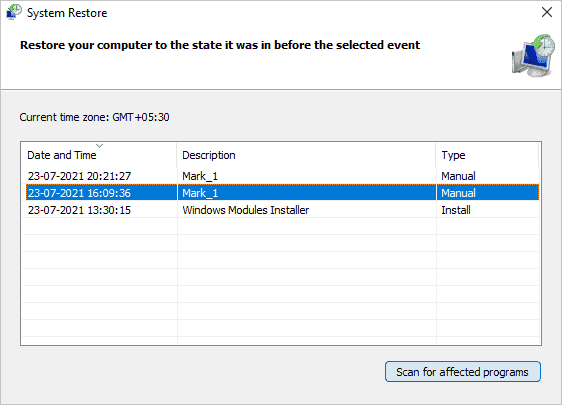
- Click Next in the System Restore window. You will see a list of available restore points. Select a restore point that was created before you started experiencing issues.
- You can click on Scan for affected programs to see which programs will be affected by the restoration.
- Once you’ve chosen a restore point, click Next, then confirm your selection, and click Finish.
- A warning will appear informing you that System Restore cannot be interrupted. Click on Yes to proceed.
- Your computer will restart and begin the restoration process. This may take some time.

Once the restoration is complete, your computer will boot back into Windows. You should see a message indicating whether the restoration was successful.
Method 9. Clean Install of Windows
If none of the above methods work and you continue to face issues, consider performing a clean installation of Windows. Remember to back up important files before doing this.
Summary
By following these steps, you should be able to resolve the Riched20.dll missing error. However, if you are looking for a quick and effective way to resolve DLL errors related to applications and games, we recommend using Bitwar DLL Fixer directly. This tool can repair corrupted or missing DLL files caused by various issues.
Free Download Bitwar DLL Fixer: